
What is Ec2 :
Amazon Elastic Compute Cloud (Amazon EC2) provides scalable computing capacity in the Amazon Web Services (AWS) Cloud.
Using Amazon EC2 eliminates your need to invest in hardware up front, so you can develop and deploy applications faster.
You can use Amazon EC2 to launch as many or as few virtual servers as you need, configure security and networking, and manage storage.
Amazon EC2 enables you to scale up or down to handle changes in requirements or spikes in popularity, reducing your need to forecast traffic.
What is Amazon S3 :
Amazon Simple Storage Service (Amazon S3) is an object storage service that offers industry-leading scalability, data availability, security, and performance.
Customers of all sizes and industries can use Amazon S3 to store and protect any amount of data for a range of use cases, such as data lakes, websites, mobile applications, backup and restore, archive, enterprise applications, IoT devices, and big data analytics.
Amazon S3 provides management features so that you can optimize, organize, and configure access to your data to meet your specific business, organizational, and compliance requirements.
What is Terraform :
It is an open-source IaaC (Infrastructure as a code) software tool where you define and create resources using providers in the declarative configuration language example JSON.
With Terraform, You can package and reuse the code in form of modules.
It supports a number of cloud infrastructure providers such as AWS, Azure, GCP, IBM Cloud, OCI, etc.
Terraform has four major commands:
terraform init
terraform plan
terraform apply
terraform destroy
Prerequisite :
Install Terraform in your local machine using this official guide by Hashicorp.
To install Terraform using CLI, use this guide https://learn.hashicorp.com/tutorials/terraform/install-cli
To install Terraform by downloading, use this guide https://www.terraform.io/downloads.html
Download and Install Visual Studio code editor using this guide https://code.visualstudio.com/download
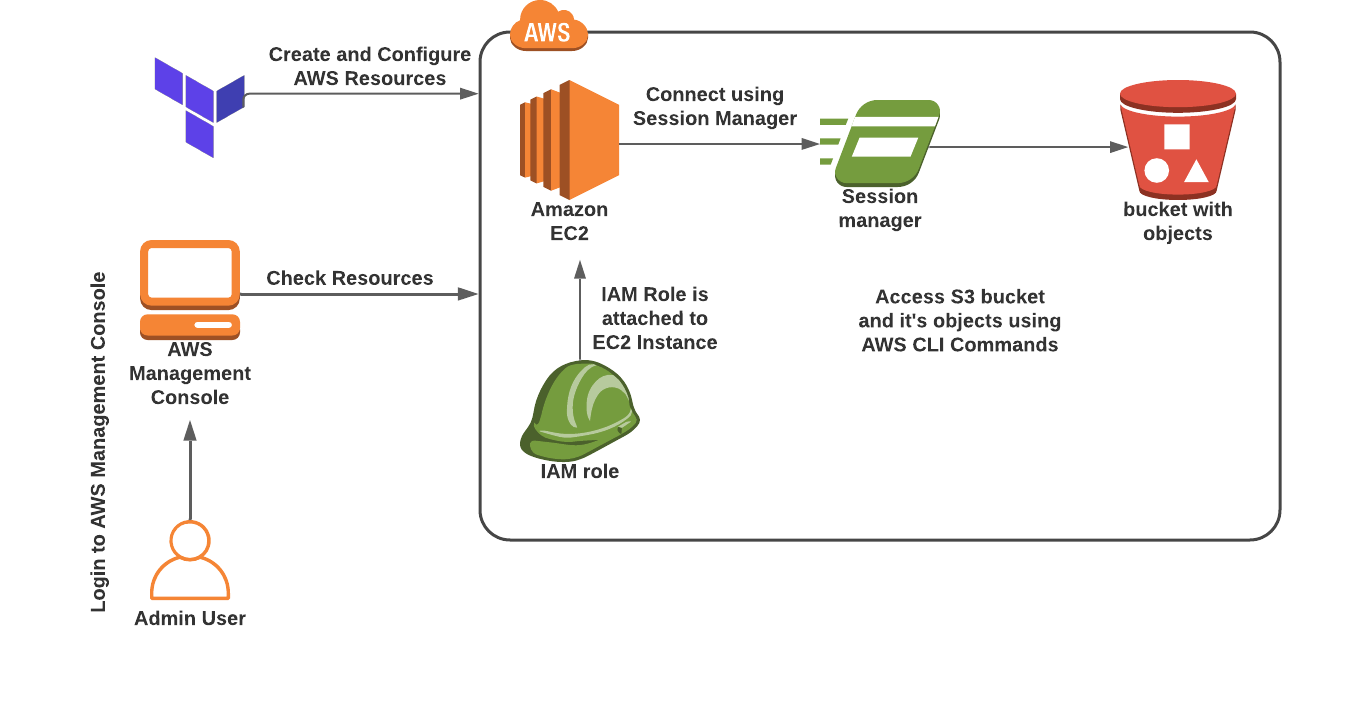
Architecture Diagram :
Demo :-
Step1:
Create variable.tf files:
# required for AWS
variable "access_key" {}
variable "secret_key" {}
variable "region" {
default = "us-east-1"
}
variable "bucket_name" {}
In the above content, you are declaring a variable called, access_key, secret_key, and region having default value as us-east-1.
Step2:
Now create the terraform.tfvars file:
access_key = "<YOUR AWS CONSOLE ACCESS ID>"
secret_key = "<YOUR AWS CONSOLE SECRET KEY>"
bucket_name = "<Your S3 Bucket name>"
In the above code, you are defining the dynamic values of variables declared earlier.
Replace the values of access_key and secret_key by copying from the lab page. And put a unique name for bucket_name.
After replacing the values of access_key and secret_key, save the file
Step3:
Create a new folder to place the index.html file.
Name this folder as html.
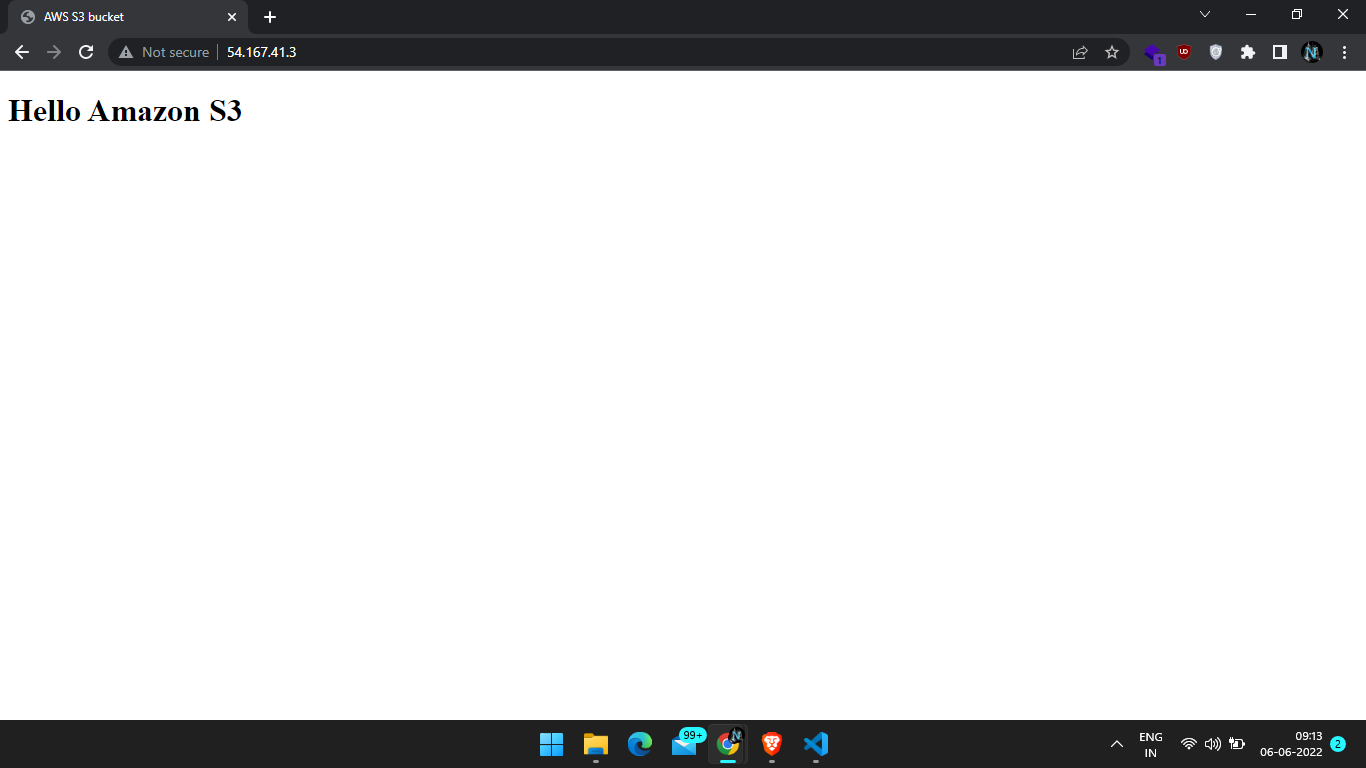
Write the code in index.html file.
create main.tf file
provider "aws" {
region = var.region
access_key = var.access_key
secret_key = var.secret_key
}
resource "aws_s3_bucket" "blog" {
bucket = var.bucket_name
acl = "private"
}
resource "aws_s3_bucket_object" "object1" {
for_each = fileset("html/", "*")
bucket = aws_s3_bucket.blog.id
key = each.value
source = "html/${each.value}"
etag = filemd5("html/${each.value}")
content_type = "text/html"
}
Paste the below content into main.tf file.
resource "aws_instance" "web" {
ami = "ami-02e136e904f3da870"
instance_type = "t2.micro"
vpc_security_group_ids = [aws_security_group.web-sg.id]
iam_instance_profile = aws_iam_instance_profile.SSMRoleForEC2.name
user_data = <<EOF
#!/bin/bash
sudo su
yum update -y
yum install httpd -y
aws s3 cp s3://${aws_s3_bucket.blog.id}/index.html /var/www/html/index.html
systemctl start httpd
systemctl enable httpd
EOF
tags = {
Name = "Whiz-EC2-Instance"
}
}
In the above code, you are defining resource block using aws_instance for creating an Amazon EC2 Instance having AMI ID as mentioned, EC2 Instance type as t2.micro, and IAM role or IAM Instance profile as mentioned in the next step. And, in user_data section, you are installing the HTTPD and copying index.html file from the s3 bucket.
Add the code for the Security group, authorizing inbound traffic from port 80 and port 443, and outbound traffic from all ports.
resource "aws_security_group" "web-sg" {
name = "Web-SG"
ingress {
from_port = 80
to_port = 80
protocol = "tcp"
cidr_blocks = ["0.0.0.0/0"]
}
ingress {
from_port = 443
to_port = 443
protocol = "tcp"
cidr_blocks = ["0.0.0.0/0"]
}
egress {
from_port = 0
to_port = 0
protocol = "-1"
cidr_blocks = ["0.0.0.0/0"]
}
}
Add another block of just below the EC2 Instance creation code, this block of code will create an IAM role having trust permission having use case of EC2 Instance.
resource "aws_iam_role" "SSMRoleForEC2" {
name = "SSMRoleForEC2"
assume_role_policy = <<EOF
{
"Version": "2012-10-17",
"Statement": [
{
"Effect": "Allow",
"Principal": {
"Service": "ec2.amazonaws.com"
},
"Action": "sts:AssumeRole"
}
]
}
EOF
}
resource "aws_iam_instance_profile" "SSMRoleForEC2" {
name = "SSMRoleForEC2"
role = aws_iam_role.SSMRoleForEC2.name
}
Attach the AWS Managed IAM Policy AmazonSSMManagedInstanceCore and AmazonS3ReadOnlyAccess to the IAM Role created above. This IAM Policy will allow EC2 Instance to use Session Manager for SSH without key pair and to access S3 buckets and its bucket.
resource "aws_iam_role_policy_attachment" "role-policy-attachment" {
for_each = toset([
"arn:aws:iam::aws:policy/AmazonSSMManagedInstanceCore",
"arn:aws:iam::aws:policy/AmazonS3ReadOnlyAccess"
])
role = aws_iam_role.SSMRoleForEC2.name
policy_arn = each.value
}
Create an outputs.tf file required for displaying the output as Public IP of EC2 Instance.
output "s3_bucket_id" {
value = aws_instance.web.public_ip
}
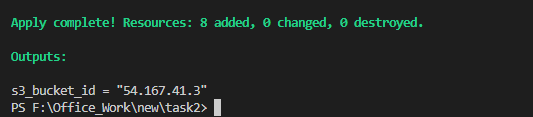
Output:
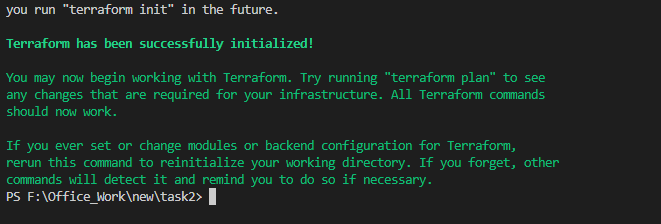
Write Command :- Terraform init
Write Command :- Terraform plan & After that Terraform apply


No comments:
Post a Comment