
Before beginning, this article ensures Jenkins Server and JIRA are already set up and running with at least one project.
Step 1: install the Jira plugin in Jenkins
go to manage Jenkins
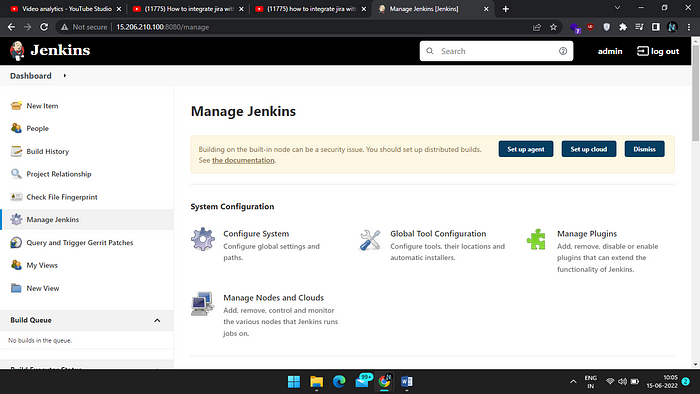
go to manage plugin ➡ available ➡ search Jira
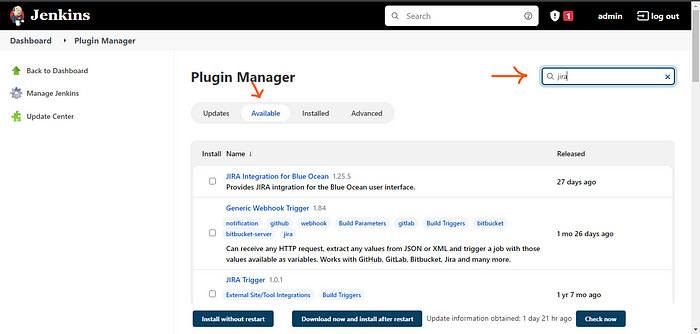
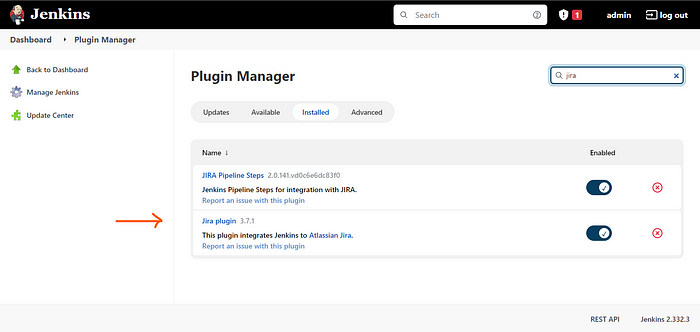
install the Jira plugin and click Install with restart
Step 2: Create an API Token
Go to Jira cloud account ➡ and click on the profile
Go to Account Setting ➡Security

Click on Create and manage API tokens

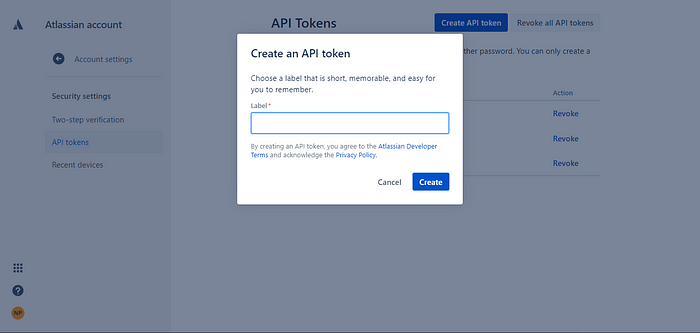
Click on Create API Token and provide lable
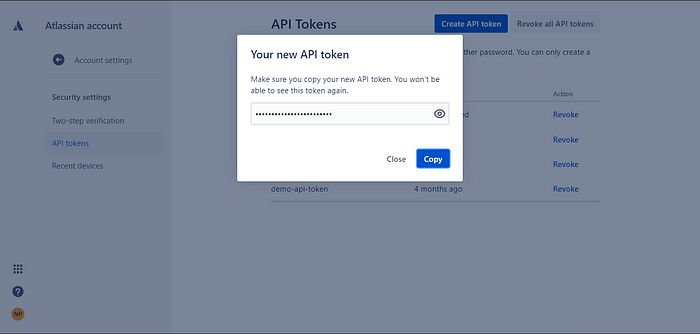
copy new API Token key and save
Step 3: add a Jira site in Jenkins
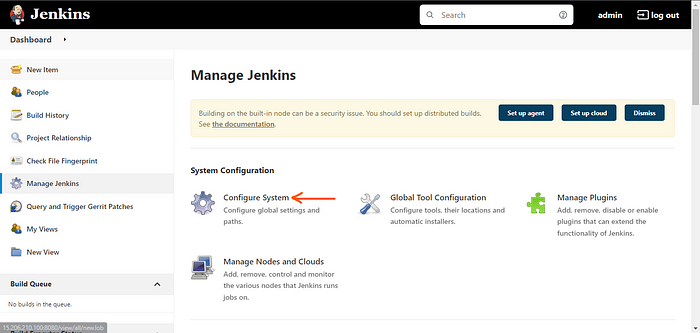
Go to manage Jenkins ➡ Configure system and search Jira sites
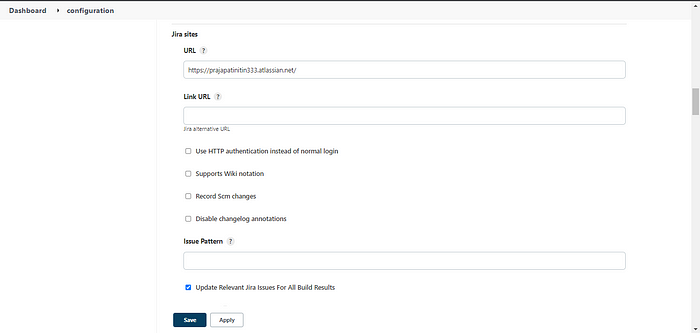
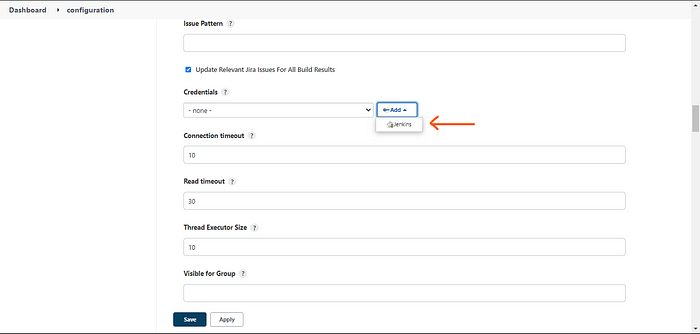
Click on add site and provide Jira URL & check the button(Update Relevant Jira Issues For All Build Results).
Supply credentials for this
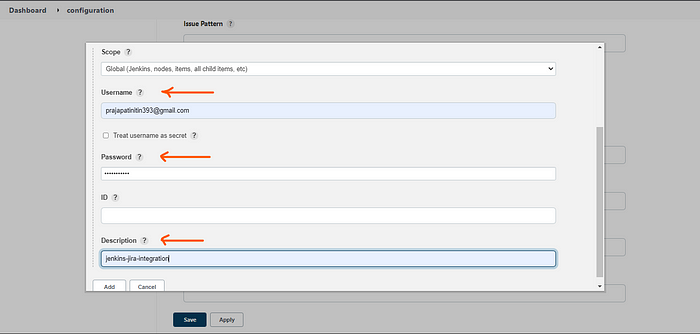
Provide the email address of Jira in the username section & paste the API token in the password section and then provide the description then click add.
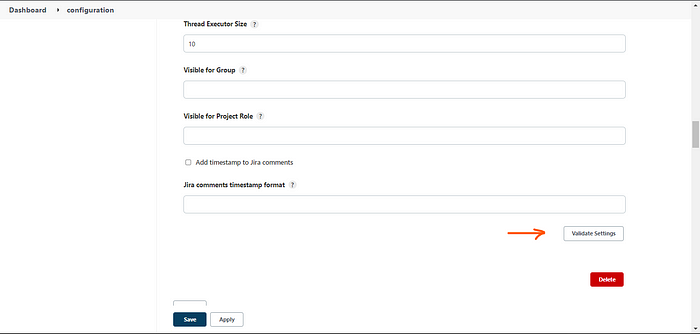
Now Select tour credentials

After that, you need to validate your settings
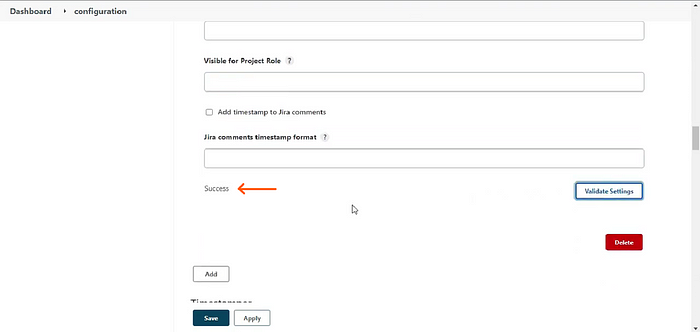
if everything goes well you can see the success then click on save
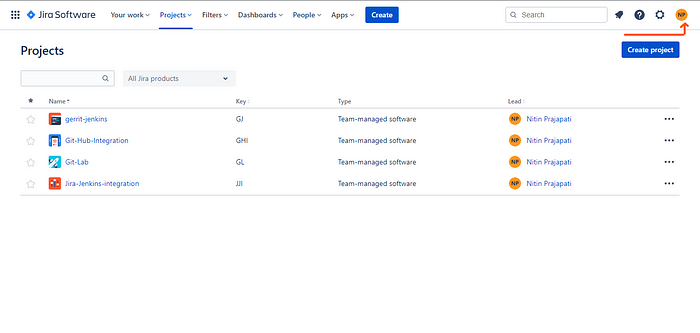
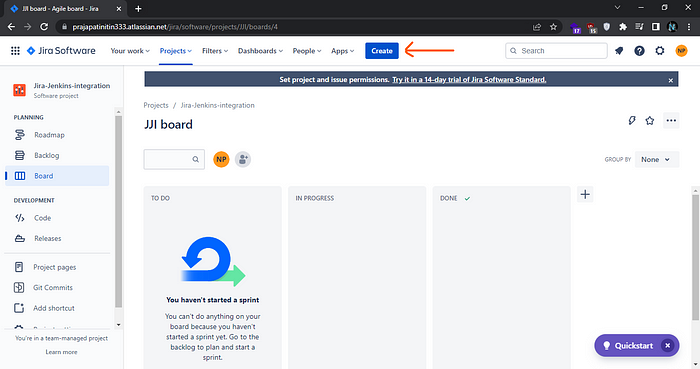
Step 4: Create a Ticket
Go to your Jira project and click on create
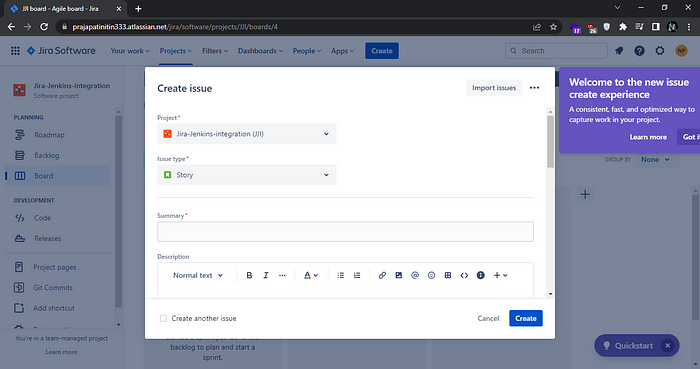
Give the summery and discription
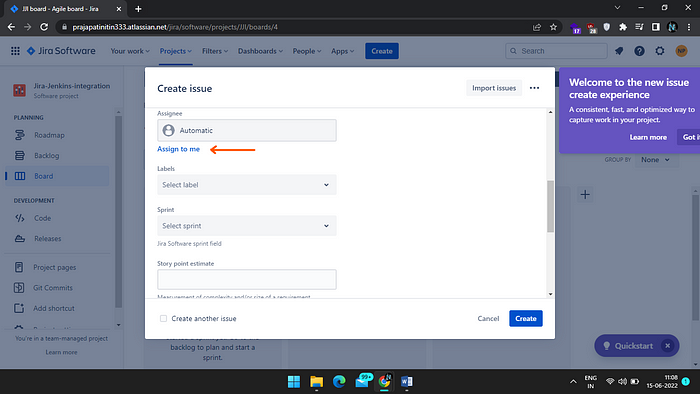
Click on Assign to me & then click on create.
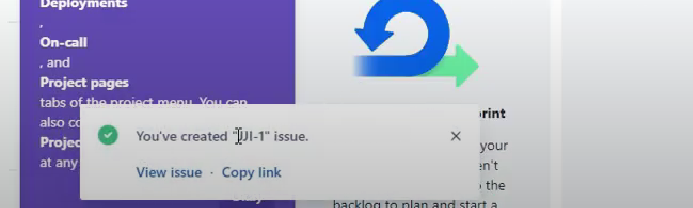
Note the ticket number
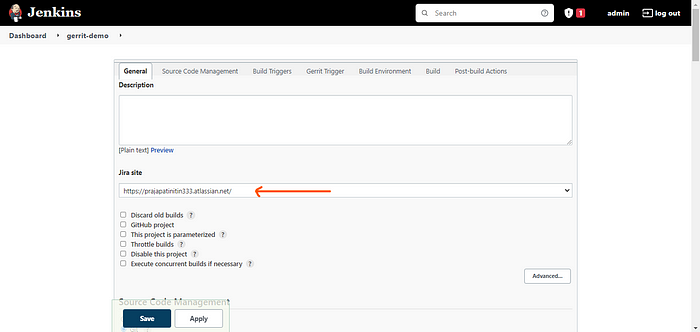
Now go to Jenkins project and click on configure
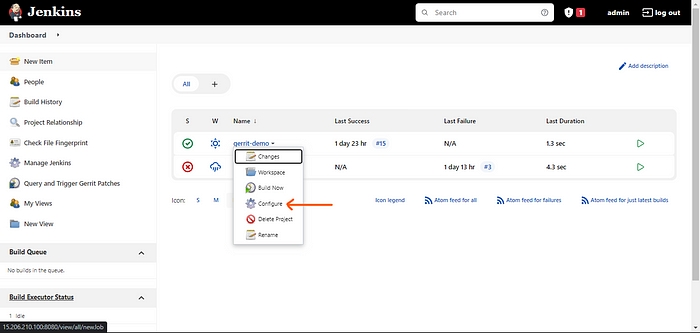
Here automatically fetch the Jira URL
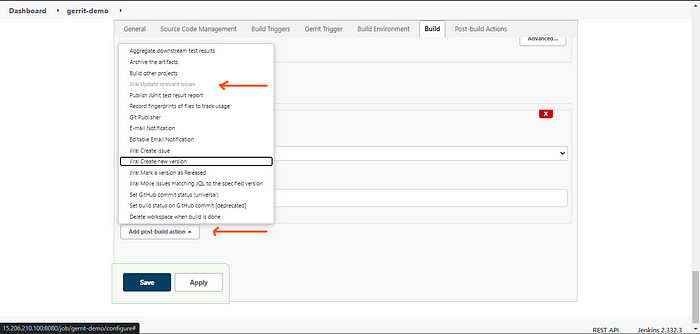
Add Post-build Action ➡ click on add Add-post build Action ➡️select jira:update relevant issues.
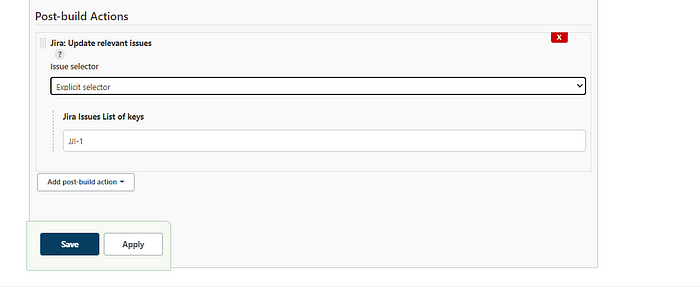
Select Explicit selector and specify your ticket number and then click on save.
Now go to the project and click build now.
Now you can check the message from Jira ➡Go to Jira Project ➡ and click on Backlog
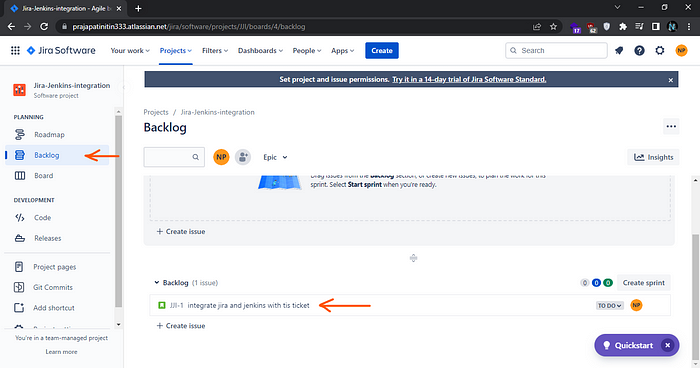
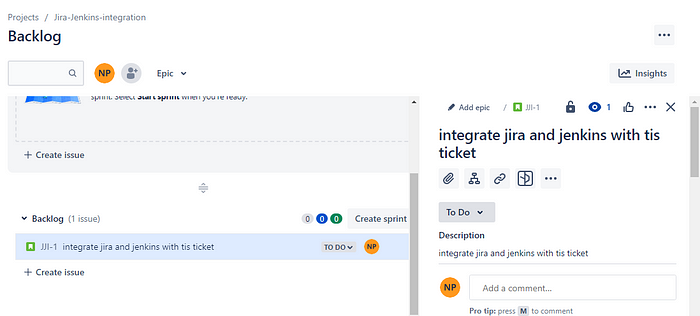
So this is how you can integrate your tickets.
So I hope this was very helpful and if you have any doubts or any questions you can write them down in the comment section below and I will try to answer you as soon as I can.
▬▬▬▬▬▬ Connect with me ▬▬▬▬▬▬
Youtube Subscription ► https://bit.ly/2LENtS1
Facebook Page: ► https://www.facebook.com/EasyAWSLearn/
Medium: ► https://techworldwithvijaypatel.mediu...
Dev: ► https://dev.to/easyawslearn
Telegram Channel: ► https://t.me/devtul


No comments:
Post a Comment