
What is Gerrit
Gerrit is a web-based code review tool, which is integrated with Git and built on top of the Git version control system (helps developers to work together and maintain the history of their work). It allows merging changes to the Git repository when you are done with the code reviews.
Step1: git
Before beginning with installing Gerrit, we need to be sure that git is installed and set up on our server. If by any chance, it is not already installed on your cloud server, you can get it quickly through apt-get:
sudo apt-get install gitStep2: java
To work, Gerrit requires Java to be installed on the server.
You can check if Java is already installed easily:
java -versionIf it’s not, you can install it, once again, through apt-get:
sudo apt-get install default-jdkStep3: Installing gerrit
Once Git and Java have been downloaded and installed on our server, we can start to set up Gerrit. The program itself is hosted on the Google Code site, but the latest version is 2.7
Download the required war file:
wget https://gerrit-releases.storage.googleapis.com/gerrit-3.5.1.warOnce downloaded, we need to initialize Gerrit. You can do so with the command below.
However, should you be content with the default settings, you can have all of them selected at once with the — batch option. Additionally, while by default, Gerrit is set up within the user’s home directory, you can set up the specific directory where the files should be placed by adding a –d to the line.
java -jar gerrit-3.5.1.war init --batch -d ~/gerrit_exampleIf this process is done automatically, the canonical URL, where Gerrit can be accessed, will simply be localhost
Step4: Access Your Gerrit Installation
Once Gerrit has been set up, you can start to access it with your desired user.
Gerrit can be accessed through its canonical URL, visible in the settings and easy to find with the command:
git config -f ~/gerrit_example/etc/gerrit.config gerrit.canonicalWebUrlThe visible result should be something along the lines of:
http://(ipv4add):8080/If you see localhost in your canonical URL, you should be able to access Gerrit through the server’s IP address.
Upon the first login, the page should look like this:
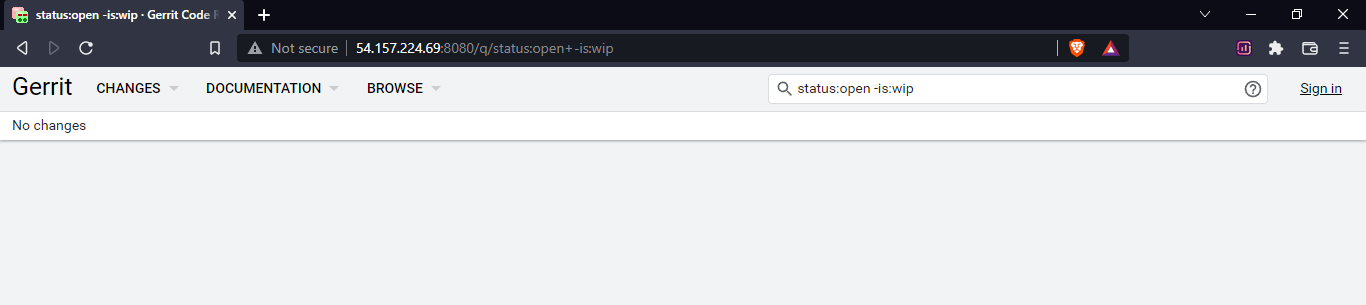
Now you can able in log in to your account.
So I hope this was very helpful and if you have any doubts or any questions you can write them down in the comment section below and I will try to answer you as soon as I can.
▬▬▬▬▬▬ Connect with me ▬▬▬▬▬▬
Youtube Subscription ► https://bit.ly/2LENtS1
Facebook Page: ► https://www.facebook.com/EasyAWSLearn/
Medium: ► https://techworldwithvijaypatel.mediu...
Dev: ► https://dev.to/easyawslearn
Telegram Channel: ► https://t.me/devtul
Happy Learning!…


No comments:
Post a Comment