Topic :
Create an Application Load Balancer to distribute the incoming traffic between two EC2 Instances using Terraform
Introduction:
What is Elastic Load Balancing?
Elastic Load Balancing (ELB) automatically distributes incoming application traffic across multiple targets and virtual appliances in one or more Availability Zones (AZs).
ELB helps in adjusting capacity according to incoming application and network traffic.
ELB offers features like:
Detection of unhealthy EC2 instances.
Spreading EC2 instances across healthy channels only.
Centralized management of SSL certificates.
Optional public key authentication.
Support for both IPv4 and IPv6.
ELB accepts incoming traffic from clients and routes requests to its registered targets.
Prerequisite :
Install Terraform in your local machine using this official guide by Hashicorp.
To install Terraform using CLI, use this guide https://learn.hashicorp.com/tutorials/terraform/install-cli
To install Terraform by downloading, use this guide https://www.terraform.io/downloads.html
Download and Install Visual Studio code editor using this guide https://code.visualstudio.com/download
Architecture Diagram :
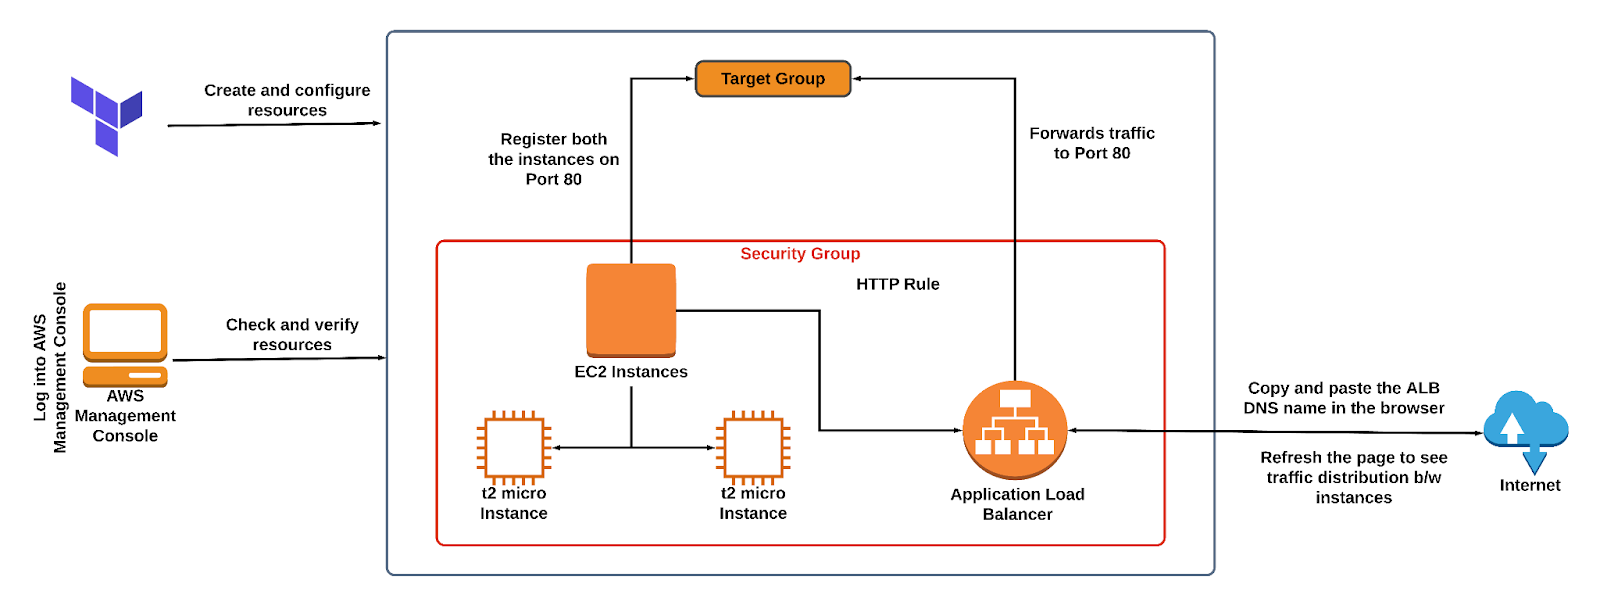
Practical:
Step 1:
Create one folder(load-balancer).
Now create a variable.tf file in the load-balancer folder.
Paste the below contents in variables.tf file.
variable "access_key" {
description = "Access key to AWS console"
}
variable "secret_key" {
description = "Secret key to AWS console"
}
variable "region" {
description = "Region of AWS VPC"
}
In the above content, you are declaring a variable called, access_key, secret_key, and region with a short description of all 3.
Now create a terraform.tfvars file.
Paste the below content into the terraform.tfvars file.
region = "us-east-1"
access_key = "<YOUR AWS CONSOLE ACCESS ID>"
secret_key = "<YOUR AWS CONSOLE SECRET KEY>"
In the above code, you are defining the dynamic values of variables declared earlier.
Step 2:
Create main.tf file.
Paste the below content into the main.tf file.
provider "aws" {
region = "${var.region}"
access_key = "${var.access_key}"
secret_key = "${var.secret_key}"
}
In the above code, you are defining the provider as aws.
Next, we want to tell Terraform to create a Security Group within AWS EC2, and populate it with rules to allow traffic on specific ports. In our case, we are allowing the tcp port 80 (HTTP).
Paste the below content into the main.tf file after the provider.
############ Creating Security Group for EC2 & ELB ############
resource "aws_security_group" "web-server" {
name = "web-server"
description = "Allow incoming HTTP Connections"
ingress {
from_port = 80
to_port = 80
protocol = "tcp"
cidr_blocks = ["0.0.0.0/0"]
}
egress {
from_port = 0
to_port = 0
protocol = "-1"
cidr_blocks = ["0.0.0.0/0"]
}
}
Let's add another set of code after security group creation where you will create 2 EC2 instances.
In the below code, we have defined the Amazon Linux 2 AMI. The AMI ID mentioned above is for the us-east-1 region.
We have added the user data to install the apache server and add a html page.
We have provided tags for the EC2 instances.
resource "aws_instance" "web-server" {
ami = "ami-01cc34ab2709337aa"
instance_type = "t2.micro"
count = 2
key_name = "whizlabs-key"
security_groups = ["${aws_security_group.web-server.name}"]
user_data = <<-EOF
#!/bin/bash
sudo su
yum update -y
yum install httpd -y
systemctl start httpd
systemctl enable httpd
echo "<html><h1> Welcome to our channel. Happy Learning from $(hostname -f)...</p> </h1></html>" >> /var/www/html/index.html
EOF
tags = {
Name = "instance-${count.index}"
}
}
Let's add another set of code after EC2 Instances creation where you will define the data source to get the details of vpc_id and subnet_id’s.
We will also use the data source aws_subnet_ids to provide a set of subnet id’s for a vpc_id.
data "aws_vpc" "default" {
default = true
}
data "aws_subnet_ids" "subnet" {
vpc_id = data.aws_vpc.default.id
}
Let's add another set of code after the data source of VPC. Here, we will be creating the Target group.
In the below code, we have provided the health check details.
We have provided the protocol as HTTP and port as 80.
The target type is instance and the vpc_id of the default VPC is taken from the data source variable.
resource "aws_lb_target_group" "target-group" {
health_check {
interval = 10
path = "/"
protocol = "HTTP"
timeout = 5
healthy_threshold = 5
unhealthy_threshold = 2
}
name = "whiz-tg"
port = 80
protocol = "HTTP"
target_type = "instance"
vpc_id = data.aws_vpc.default.id
}
Let's add another set of code after creating the Target group. We will be creating the Application Load Balancer and Listener in the below code.
In the code below, we have mentioned the ip_address_type as ipv4. We have specified the load balancer type as an application.
The security group ID is automatically taken by using the variable which we have set during the creation process.
The subnet_ids of the default VPC are taken from the data variable.
For the Listener, we have provided the load balancer arn which will be taken once the load balancer is created.
We have configured the protocol and port as HTTP and 80 respectively and forwarded the request to the created target group.
############# Creating Application Load Balancer #############
resource "aws_lb" "application-lb" {
name = "whiz-alb"
internal = false
ip_address_type = "ipv4"
load_balancer_type = "application"
security_groups = [aws_security_group.web-server.id]
subnets = data.aws_subnet_ids.subnet.ids
tags = {
Name = "whiz-alb"
}
}
######################## Creating Listener ######################
resource "aws_lb_listener" "alb-listener" {
load_balancer_arn = aws_lb.application-lb.arn
port = 80
protocol = "HTTP"
default_action {
target_group_arn = aws_lb_target_group.target-group.arn
type = "forward"
}
}
Now, we have created the required resources. We will complete the main.tf by attaching the target group to the Application load balancer.
In the code below, we have specified the target group arn and the target_id, i.e the id’s of the created EC2 Instances.
################ Attaching Target group to ALB ################
resource "aws_lb_target_group_attachment" "ec2_attach" {
count = length(aws_instance.web-server)
target_group_arn = aws_lb_target_group.target-group.arn
target_id = aws_instance.web-server[count.index].id
}
Step 3:
Create an output.tf file.
Paste the below content into the output.tf file.
output "elb-dns-name" {
value = aws_lb.application-lb.dns_name
}
In the above code, we will extract the DNS name of the created Application load balancer and display it once the resources are created.
Step 4(Apply terraform configurations):
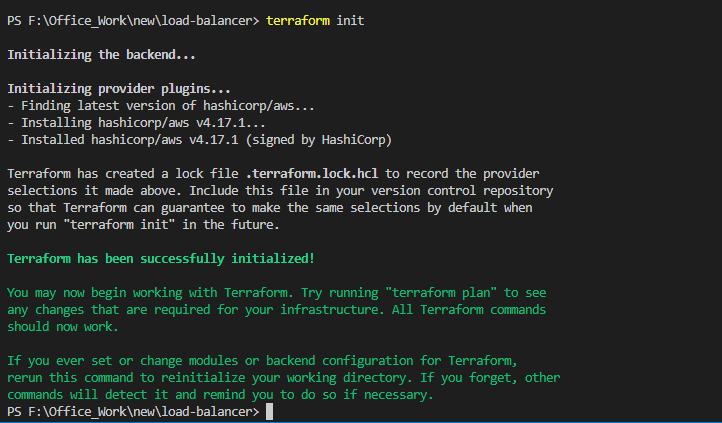
Initialize Terraform by running the below command
terraform init
To generate the action plans run the below command
terraform plan
To create all the resources declared in main.tf configuration file, run the below command
terraform apply
You will be able to see the resources which will be created, approve the creation of all the resources by entering yes.

The output i.e DNS name of the application load balancer is extracted and displayed. Copy the DNS name.

Step5:
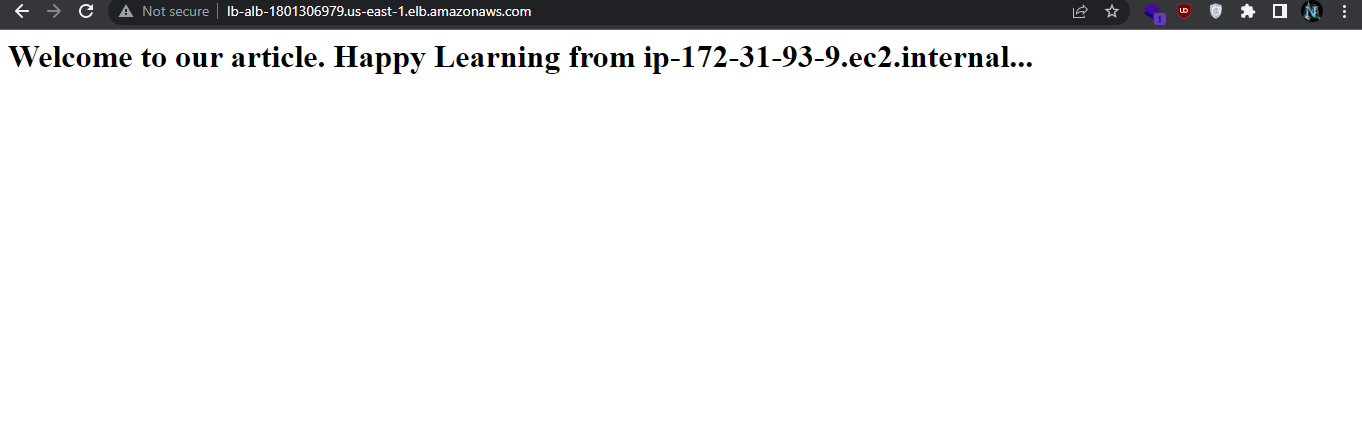
Open a new tab in the browser and paste the DNS name of the created load balancer.
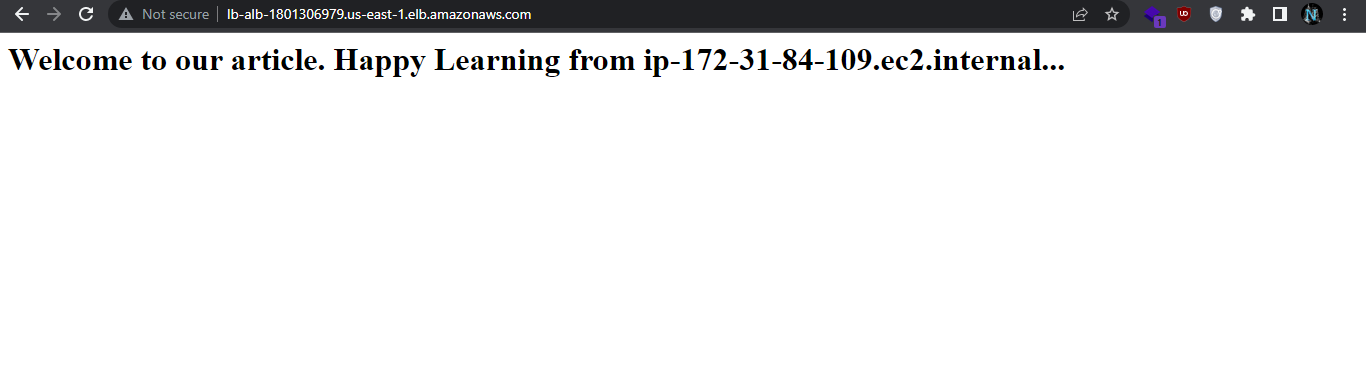
The HTML content created in the user data is displayed in the page.
Keep refreshing the page to see the incoming traffic distribution between the two instances.
Step6:
Check the resources in AWS Console
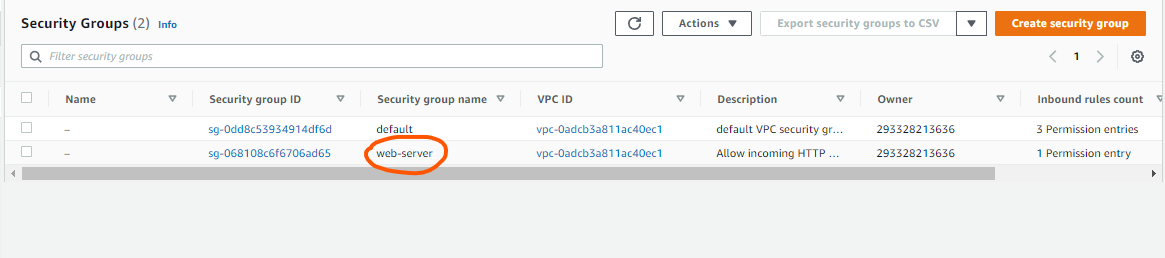
You will be able to see the security group with the name web-server which we have created in the terraform.
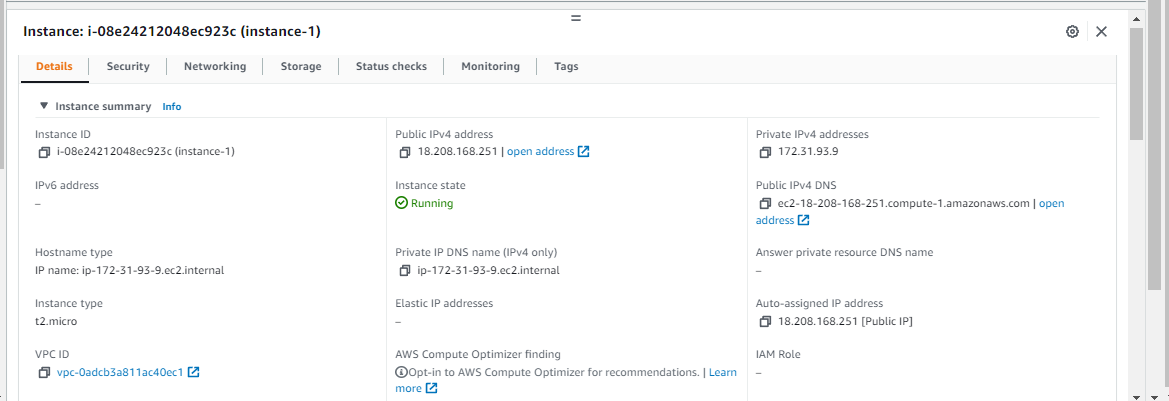
You can see the instances created. You can check the configurations that we applied in the terraform file like key pair, security group, instance type, etc.

You will be able to see the created load balancer with the name lb-alb which we have created in the terraform.

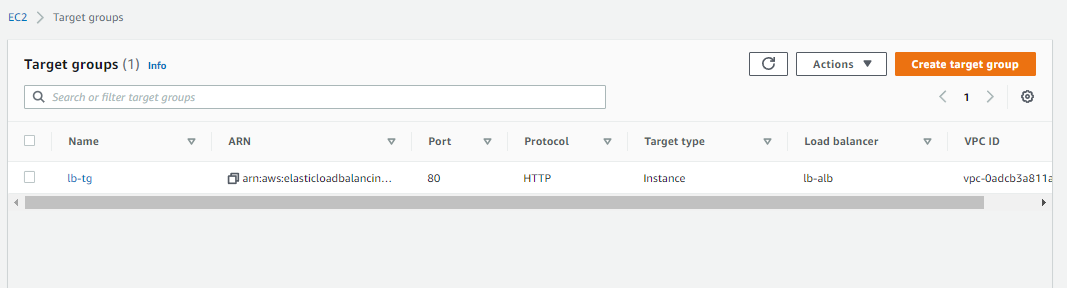
You will be able to see the created target group with the name lb-tg which we have created in the terraform.


No comments:
Post a Comment